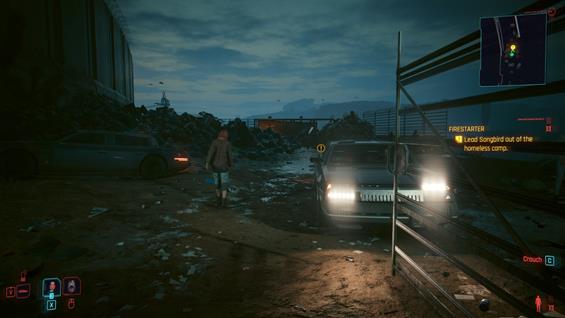
Phantom Liberty Walkthrough for Cyberpunk 2077 covers information that aims to guide players by providing a detailed guide on how to complete various Locations and Main Jobs for the Spy-thriller expansion Phantom Liberty. For guides on all Jobs, click here, if you want to check an overview for a recommended progress path, you may visit our Game Progress Route page.
- If you want to read about the Main Jobs of the base Cyberpunk 2077, head to Walkthrough
How to Start Phantom Liberty?
Phantom Liberty requires having Cyberpunk 2077 installed. If you have both installed, players will have the option to either load a previous save and play Phantom Liberty with an already-created character, or start a standalone version.
Note that starting with a previous save from before the 2.0 Update, Perks will be reset. You will still have all the points you have collected, but the significant changes in the skill trees mean you should spend some time deciding how best to reallocate your points.
If you have already completed the quest Transmission, you will be able to play Phantom Liberty immediately. If not, continue playing the main story of the base game until Songbird contacts you.
Skip Cyberpunk 2077 and Play Phantom Liberty
If you decide to play Phantom Liberty, Players will start the game's main story after completing Transmission. Note that all content from Phantom Liberty and the base game, will be fully accessible from this point forward.
Picking this option allows players to choose their desired difficulty and Life Path, before heading to the character creation screen. Your character will automatically start at level 20 with pre-selected equipment and Attribute assignment.
Players will start in Pacifica, after the end of Act 1. Players can enter the character menu and reset attributes for one free opportunity to redistribute Attributes and Perks as they see fit.
Phantom Liberty Walkthrough
1. Prologue
2. Assembling the Team
3. Rescuing Songbird
4. Point of No Return
Dog Eat Dog |
|
|---|---|
 |
|
Job Type |
Main Job |
Location |
Dogtown |
Next Job |
Hole in the Sky |
Reward/s |
888 XP |
Dog Eat Dog is a Main Job in Cyberpunk 2077. Dog Eat Dog is the first DLC mission and is exclusive to the Phantom Liberty DLC, thus not available in the standard version of the game. Completing Main Jobs (Main Quests) in Cyberpunk 2077 progresses the story forward, and also grants XP and various rewards.
Cyberpunk 2077: Phantom Liberty Dog Eat Dog Objectives
- Talk to the mystery caller
- Go to the Dogtown Border
- Look for Songbird
- Talk to Songbird
- Find the entrance to the old parking garage
- Enter the restricted area
- Go to the garage
- Go to the underground garage
- Find an access point
- Find a way to restore power
- Connect to the access point
- Get onto the elevator platform
- Ride on the platform
- Reach the car elevator platform
- Get onto the elevator platform
- Reach the catwalk
- Talk to Songbird
- Make your way to Dogtown through the garage
- Enter the elevator
- Go to the Black Market
- Go to the construction site
- Talk to Songbird
- Get up onto the Roof
- Talk to Songbird
- Go to the Crash Site
Cyberpunk 2077: Phantom Liberty Dog Eat Dog Walkthrough
Dog Eat Dog is the first mission of the Phantom Liberty DLC, players can decide to start the game from this point if they only want to play the new content.
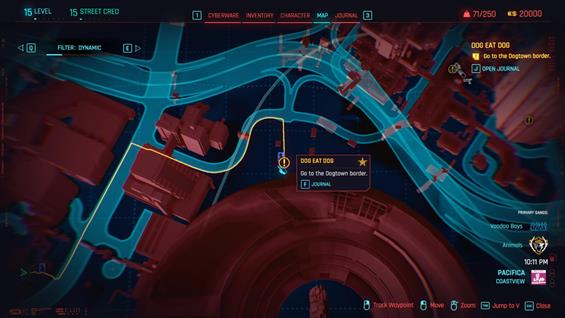
Songbird gets in touch with the player and explains she can help with the Relic's problem. After accepting, she will ask you to head to Dogtown's border. Check your map to find the location.
Head to the selected location and as you explored the yellow-colored area on your map, your relic will malfunction, and after a short scene Songbird will appear on the screen.
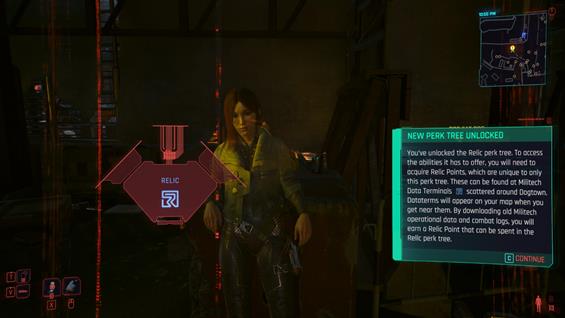
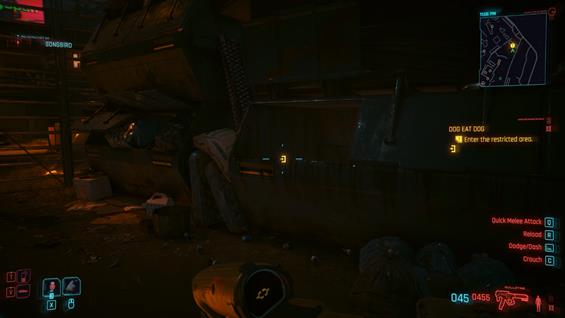
She unlocks the Relic Perks skill tree during this conversation. After the conversation you will have to enter the old parking garage, note that it is a restricted area, and you will have to remain unseen to avoid conflict.
Enter the dumpster on the side, and emerge from the other side. Try to avoid the guards by learning their patrol patterns.
Crouch and move slowly to do as less noise as possible. You can still get detected, but manage to get to the other side.
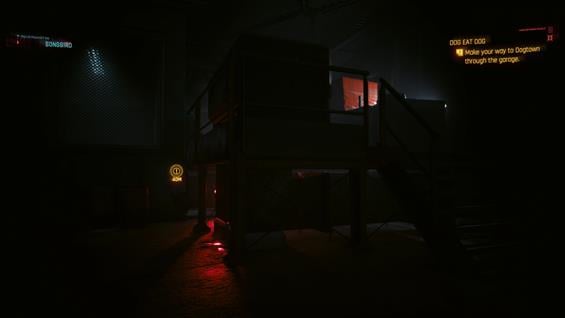
Get to the lower level, reach the access point, but it won't work. Explore the area to find the generator. Turn it on and return to the access point. This will activate an elevator, follow Songbird around, to reach the other side, and keep using the available platforms to move through the area. This is a long platforming area.
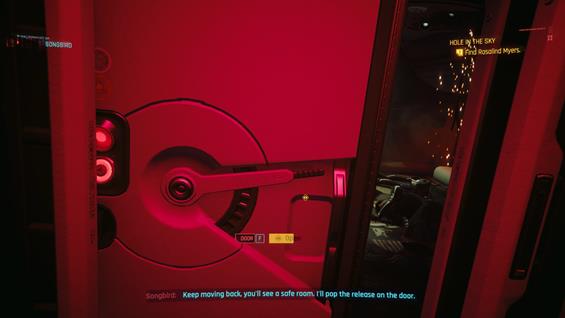
You will eventually fall down, and will have to climb on your own. Reach the end to find a door, open it and crouch as Songbird tells you to be careful. Crouch under the area to get through the other side. You can surprise all three enemies from behind.
After the fight, keep moving forward to enter an elevator, move past the stairs and you will reach Dogtown. You can explore around the Black Market area, and find some fascinating Merchants.
When you are ready, head to the designated location and talk to Songbird. Head to the rooftop and take the elevator after fixing the generator.
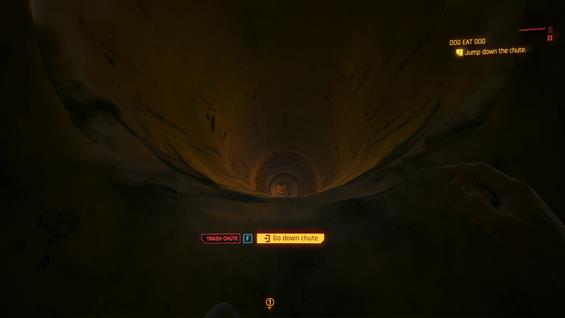
Talk to Songbird as both of you watch the plane being attacked by missiles. Watch the events unfold and take the chute down to complete the Job and instantly commence Hole in the Sky.
How to unlock Dog Eat Dog in Cyberpunk 2077: Phantom Liberty
Players can unlock Dog Eat Dog by:
- Songbird - she will get in touch with the player via phone to propose a meeting.
Dog Eat Dog Rewards in Cyberpunk 2077: Phantom Liberty
Players earn the following rewards by completing Dog Eat Dog
- 888 Experience Points
- 130 Street Cred
Cyberpunk 2077: Phantom Liberty Dog Eat Dog Notes & Tips
- Notes & tips go here.
- Players can have a Corpo unique answer when asked to go to Dogtown
Hole in the Sky |
|
|---|---|
 |
|
Job Type |
Main Job |
Location |
Dogtown |
Previous Job |
Dog Eat Dog |
Next Job |
Spider and the Fly |
Reward/s |
+100 Street Cred |
Hole in the Sky is a Main Job in Cyberpunk 2077. Hole in the Sky comes right after Dog Eat Dog and is exclusive to the Phantom Liberty DLC, thus not available in the standard version of the game. Completing Main Jobs (Main Quests) in Cyberpunk 2077 progresses the story forward, and also grants XP and various rewards.
Cyberpunk 2077: Phantom Liberty Hole in the Sky Objectives
- Go to the Crash Site
- Go to the Crane
- Hack the AV using your personal link (Optional)
- Talk to Songbird
- Get onto the crane arm
- Go to the wreckage
- Enter the wreckage
- Find Rosalind Myers
- Talk to President Myers
- Defeat the attackers
Cyberpunk 2077: Phantom Liberty Hole in the Sky Walkthrough
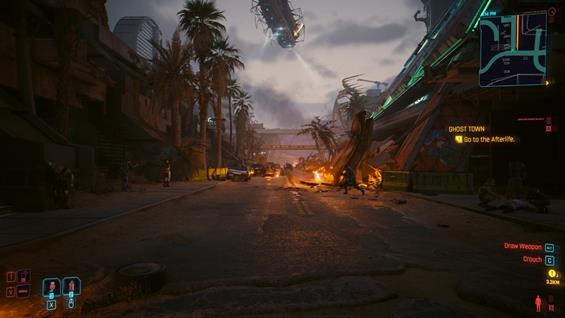
As Dog Eat Dog ends, Hole in the Sky begins. You have to head to the crash site, check your map and head to the marker. It is advised to use a car or a pick-up truck instead of a bike here, to prevent damage as you get to the area, because you will find heavy resistance.
WARNING! If you take too long or go to another area, the president will die, causing Songbird to leave, LOCKING YOU OUT from Phantom Liberty's main story.
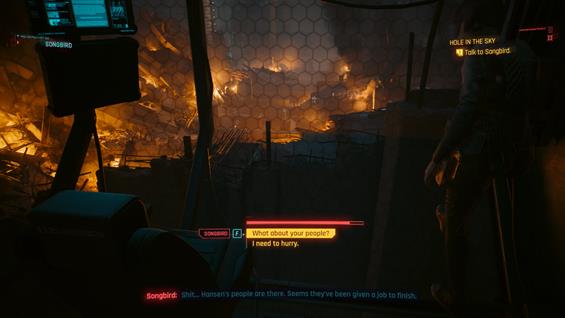
You can decide to ignore the enemies and try to head to the crane as fast as possible. Once at the top, Songbird will strike a conversation with you. She asks you to get onto the crane arm and from there reach the wreckage.
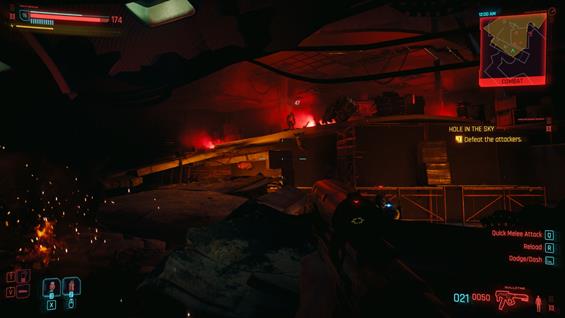
Get down, and take from the enemies from there, you will be on an advantageous position to shoot from. After you deal with the first group, reinforcements will arrive.
If you are unable to break the crumbled wall, jump on the box to reach the higher platform.
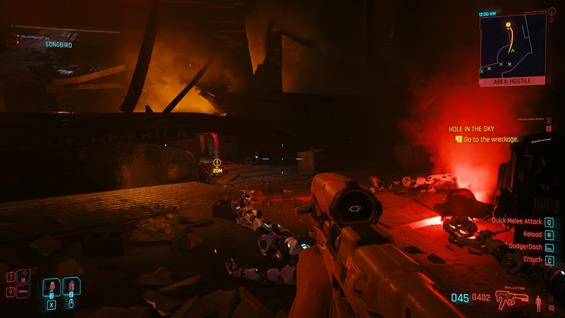
Keep moving towards the marker and fighting enemies as they appear. until you reach the plane's wreckage and enter it.
Find Rosalind Myers, the president by exploring the area, she is at the end behind the door and will welcome you roughly.
After her introduction scene, more enemies will appear, defend your position.
This is a long fight with numerous enemies, and some of them are tough. Once you are done with them, the mission will be completed and Spider and the Fly will start automatically.
How to unlock Hole in the Sky in Cyberpunk 2077: Phantom Liberty
Players can unlock Hole in the Sky by:
- Completing Dog Eat Dog automatically unlocks Hole in the Sky
Hole in the Sky Rewards in Cyberpunk 2077: Phantom Liberty
Players earn the following rewards by completing Hole in the Sky
- +100 Street Cred
Cyberpunk 2077: Phantom Liberty Hole in the Sky Notes & Tips
- Notes & tips go here.
Spider and the Fly |
|
|---|---|
 |
|
Job Type |
Main Job |
Location |
Dogtown |
Previous Job |
Hole in the Sky |
Next Job |
Lucretia My Reflection |
Reward/s |
+164 XP |
Spider and the Fly is a Main Job in Cyberpunk 2077. Spider and the Fly comes right after finishing Hole in the Sky and is exclusive to the Phantom Liberty DLC, thus not available in the standard version of the game. Completing Main Jobs (Main Quests) in Cyberpunk 2077 progresses the story forward, and also grants XP and various rewards.
Cyberpunk 2077: Phantom Liberty Spider and the Fly Objectives
- Talk to Songbird
- Return to Myers
- Lead Myers to safety
- Follow Myers
- Talk to Myers
- Help Myers remove the tracker
- Hide from the Drone
- Neutralize the Drone
- Talk to Myers
- Escort Myers safely through the building
- Talk to Songbird
- Find the fusebox in the utility room
- Reset the fusebox
- Take the elevator to the upper floor
- Escort Myers safely through the building
- Take the Barghest car (Optional)
- Reach the building while avoiding the patrols
- Lose the tail before reaching the building
- Reach the building while avoiding the patrols
- Take the elevator and leave the parking lot
- Exit the elevator
- Talk to Myers
- Go through the Expo
- Open the Door
- Enter the elevator
- Get ready to fight
- Fight off Hansen's soldiers until Songbird is ready
- Support the Chimera in the fight against Hansen's people
- Talk to Songbird
- Flee the Chimera
- Take the elevator down to the subway
- Survive against the Chimera until the elevator arrives
- Take the elevator down to the subway
- Defeat the Chimera
- Destroy all of the Chimera's weak points
- Destroy the repair drones (Optional)
- Jump into the Chimera and finish it off
Cyberpunk 2077: Phantom Liberty Spider and the Fly Walkthrough
As soon as Hole in the Sky ends, you will have to take Rosalind Myers to a safe hiding place. Follow her around and lift the gate.
She will tell you about Hansen and how she believes he has infiltrated Washington. Help her remove the tracker and immediately hide from the incoming drone. If you are detected, you will have to fight it.
Destroy it and talk to Rosalind Myers. Songbird will come online and tell you to climb higher.
Move forward and approach the elevator. It isn't working and Songbird can't fix it, she tells you to find the maintenance shaft with the fuse box nearby.
Leave the room and follow the marker. Turn left as you exit and head down to the maintenance area. Enter through the gap and climb the stairs at the end of the hallway. After the stairs, you will find the fusebox at the end, interact with it to reset it. Return to the elevator area to use it. You can do it without taking the whole wayback from where you came, Myers will be waiting you inside the elevator.
Take the elevator up, and as you reach your objective, she will talk to you about drones and her time in the army. As you open the door on your right, a scene in which a drone appears will occur. Move through the hallway to the next room, where an enemy patrol is waiting.
This is mostly a stealth section. Try to stay away from the soldiers' line of sight, don't worry about Myers she won't trigger enemies. Use Quickhacks to distract enemies to make it easier to traverse the area, once you reach the gate, where the Barghest car is, it is advised to get in there to leave the area as fast as possible.
A new marker will appear on your map, follow it to reach your objective. Many enemy vehicles will approach you, use the new vehicle combat feature to fight back. You have to lose them before reaching your objective.
As you approach the underground area, there will be more enemy patrols. Remain hidden to avoid unnecessary fights.
Eventually, you will reach a parking lot. There are some items to be looted on the area, don't worry about enemies, this area is clear. Head to the elevator when ready.
You will enter a new area called Expo Hall, as you exit the elevator. Talk to Myers, and after a short conversation follow her. You can interact with the items and Myers will tell you about them. At both sides of the main expo, you will find locked doors that can be opened if your character has 12 points in Body or 12 points in Technical Ability. You will find some loot and consumables there.
Open the door in the center with Songbird's and Myer's help. There is some loot to find, and mostly ammo. Call the elevator, and get ready to fight until Songbird is ready.
When Songbird finishes, she will awaken the Chimera, a powerful mech that Militech was working on. Support the mech in fighting enemy soldiers.
After the fight, the mech will start to behave erratically and collapse. As it awakens again, this time it will be hostile. Don't attempt to attack it, just flee the area.
A chase section follows, keep moving towards the marker and interact with Myers as she reaches the doors. Eventually, you will reach an elevator. Myers will activate and you will have to survive until it arrives. Stay hidden as much as possible.
Take the elevator once it arrives, but only Myers manages to get in. Select the shoot option, and you will have three more QTE options like this one in few moments.
After a short scene, Myers awakes you, but the Chimera is not done, it reactivates and this time you have to fight it. Use every tool at your disposal, including Quickhacks. Take cover by the columns and beware of the Chimera's devastating attacks.
When you manage to deal enough damage, repair drones will appear attempting to restore the Chimera, take them out to prevent this. There will be some attack drones to protect it.
The fight returns to the previous phase in which you will have to fight the Chimera face on. Once it is down to 2% HP, jump on it and select the finish it off option. After the short scene, the Chimera will be gone.
Immediately after this, you will begin Lucretia My Reflection.
How to unlock Spider and the Fly in Cyberpunk 2077: Phantom Liberty
Players can unlock Spider and the Fly by:
- Automatically starts after completing Hole in the Sky
Spider and the Fly Rewards in Cyberpunk 2077: Phantom Liberty
Players earn the following rewards by completing Spider and the Fly
- +164 Experience Points.
Cyberpunk 2077: Phantom Liberty Spider and the Fly Notes & Tips
- Notes & tips go here.
Lucretia My Reflection |
|
|---|---|
 |
|
Job Type |
Main Job |
Location |
Dogtown |
Previous Job |
Spider and the Fly |
Next Job |
The Damned |
Reward/s |
+150 Street Cred |
Lucretia My Reflection is a Main Job in Cyberpunk 2077. Lucretia My Reflection comes after Spider and the Fly and is exclusive to the Phantom Liberty DLC, thus not available in the standard version of the game. Completing Main Jobs (Main Quests) in Cyberpunk 2077 progresses the story forward, and also grants XP and various rewards.
Cyberpunk 2077: Phantom Liberty Lucretia My Reflection Objectives
- Take the Chimera's Core (Optional)
- Talk to Myers
- Find an entrance to the subway tunnels
- Open the container
- Lead Myers through the subway tunnels
- Exit the Container through the roof hatch
- Lead Myers through the Subway tunnels
- Talk to Myers
- Talk to Johnny (Optional)
- Lead Myers through the Subway tunnels
- Take the elevator to the 8th floor with Myers
- Walk with Myers to the hideout
- Open the door to the hideout
- Talk to Johnny
- Scan your surroundings to find a working battery
- Remove the drone's battery
- Connect the battery
- Restore power to the hideout
- Talk to Myers
- Talk to the strangers
- Defeat the Strangers
- Talk to Myers
- Pick up the Bodies
- Head to the Capitan Caliente Restaurant
- Find an entrance to the Capitan Caliente Restaurant
- Enter Capitan Caliente
- Scan the area to find the old telephone
- Call the number: 0931
- Go to the basketball court
- Sit and wait for the meeting
- Talk to the Stranger
- Go to the Black Thorton
- Defeat Hansen's soldiers
- Enter the car
- Talk to Reed
- Defeat Hansen's Soldiers
- Talk to the Homeless (Optional)
- Enter the elevator with Reed
- Take the elevator to the 8th floor
- Lead Reed to the hideout
- Talk to Myers and Reed
- Exit the Building
- Look for extra Gigs in Dogtown (Optional)
- Wait two days for Reed's phonecall
- Talk to Reed
Cyberpunk 2077: Phantom Liberty Lucretia My Reflection Walkthrough
Subway Tunnels
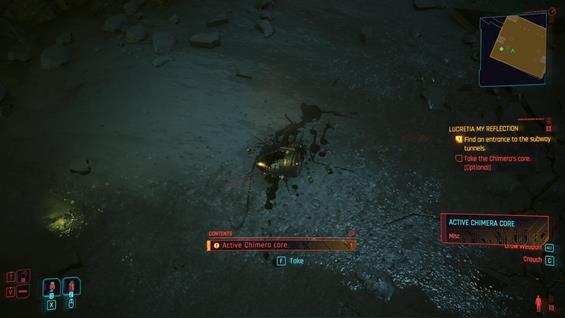
Right after defeating the Chimera during Spider and the Fly, look on the ground to find its core and complete the first optional objective.
Inspect the container, get close to it and open it to reveal a hidden passage. Before heading there, explore the area to find some loot like crafting components and specially ammo, to replenish your reserves.
Enter the passage when ready, and continue to exit through the roof. As you continue traveling, she will talk to you about Songbird's absence. Johnny will reappear after a long absence, and you can talk with him too.
Continue heading to the marker. You may find some Quickhack components along the way.
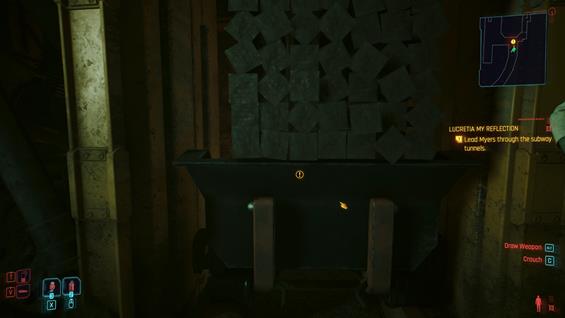
Eventually, you won't be able to advance, until you push a mining cart, this will create a fork in the way, and you will have to choose
LEFT PATH
Information coming soon!
RIGHT PATH
Take the right path, and immediately you will find a camera on the top right. On the side, there is a small gap in which you can crouch through, but there is hot steam blocking the path.
The door in front of you can be opened if you force it (Requires Body 12) or using your Technical Ability (Requires Technical Ability 12).
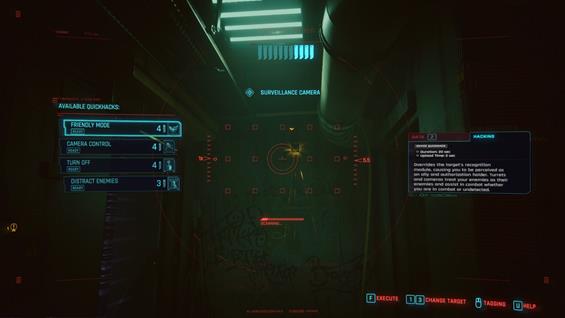
Continue moving, and after turning right, there is a camera, hack it or shoot it to advance to a small control room. You will find some loot there.
Kept heading thorough the marker, and eventually a Relic malfunction will stop you on your toes, triggering a cutscene. After the cutscene, take the elevator to the 8th floor with Myers.
As you climb up, you will find a minor arcana card, scan it. Enter the hideout with Myers and you will notice the power is off. Myers will ask you to restore it.
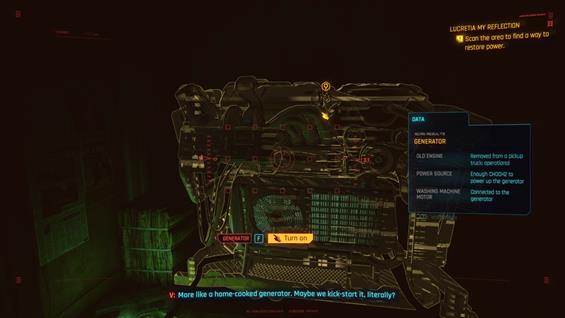
Find the generator, and Johnny will appear and converse with you regarding the situation. The generator needs a new working battery, use the scanner to find it. Use the battered-power drone to obtain the battery, and head to the generator. Connect it and power the generator again.
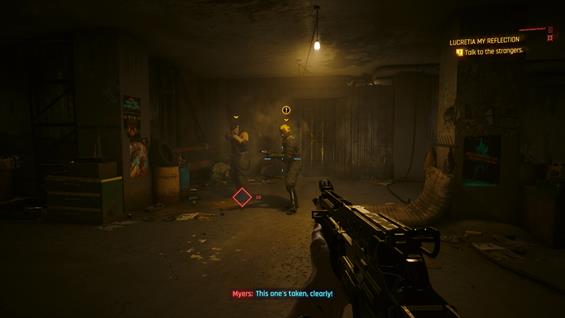
Head back to Myers and talk to her. After the conversation, two soldiers called Jacob Long and Taylor Gibbs will emerge, and tell that there is a very lucrative bounty on the president's head. This leads to combat against them.
After the fight, talk to Myers and dispose of the bodies. She will decide to call it a day.
Finding Solomon Reed
As you wake up the next day, Myers will state that Songbird hasn't come already, and she is beginning to feel nervous about it. She will ask you to contact Solomon Reed, a sleeper agent who used to work with Songbird. You will need to head to the Capital Caliente Restaurant in order to be able to contact him.
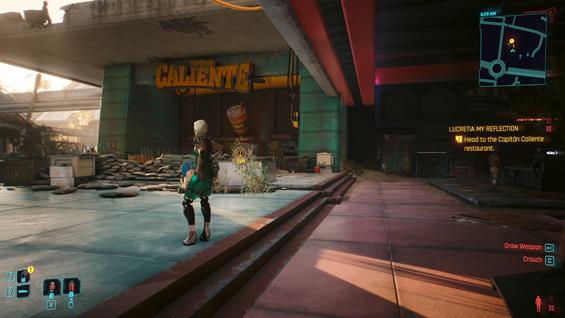
Leave the room and take the elevator down, while you have a conversation with Johnny, and head outside to reach the Capitan Caliente Restaurant.
Capitán Caliente Restaurant
Once you reach the area, the main door will demand 12 Body or 12 Technical Ability in order to be opened. If you manage to open it, don't head inside, as there are laser traps at the door. If you are able, disarm them. (Need 6 Engineer).
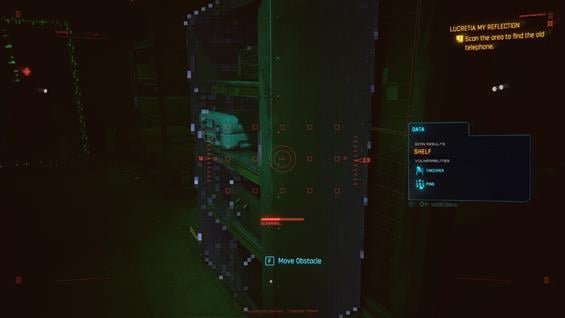
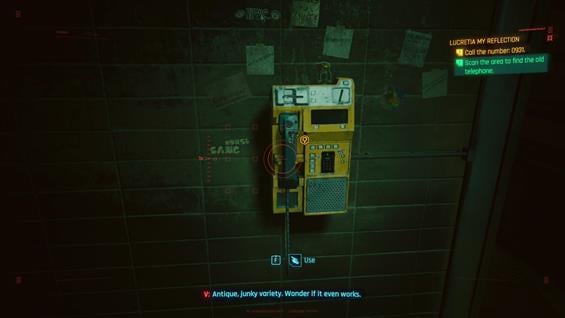
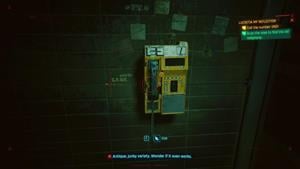
Scan the area to find the old telephone. You will find it behind a shelf.
Scan the shelf and remove it to reveal the old telephone, use it and call the number 0931. Solomon Reed will answer and point you to Andrew Jackson Basketball Court, during daytime.
Meeting Solomon Reed
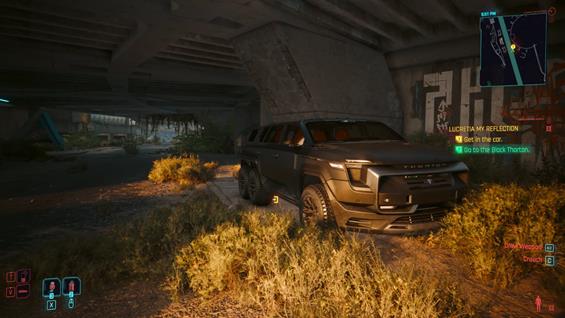
After a long conversation with Johnny, Reed will appear and interrogate you. A second meeting ensues, this time you will have to head to a Black Thorton parked nearby. Get in.
Solomon Reed will introduce himself properly this time, and will bring you along to Myers' location.
Eventually, you will run into Hansen's goons. Defeat them. Many of the defeated soldiers have Progression Shards in them, loot them and return to the car, to head to Myers.
Solomon will point out that Hansen's goons have already beaten you to your destination. Leave the car with him and defeat the soldiers in the hall. The last soldier will arrive from the elevator, once defeated, take it yourself to reach the hideout.
After the conversation between all three parties involved, leave the building. You will now have to wait 2 days to advance this job. Making it an ideal time to track side content, or Relic Points while traversing Dogtown.
Reed's Call
After two days, Solomon Reed will call you, finishing this quest and starting The Damned
How to unlock Lucretia My Reflection in Cyberpunk 2077: Phantom Liberty
Players can unlock Lucretia My Reflection by:
- It is unlocked automatically after completing Spider and the Fly
Lucretia My Reflection Rewards in Cyberpunk 2077: Phantom Liberty
Players earn the following rewards by completing Lucretia My Reflection
- +150 Street Cred
Cyberpunk 2077: Phantom Liberty Lucretia My Reflection Notes & Tips
- Notes & tips go here.
The Damned |
|
|---|---|
 |
|
Job Type |
Main Job |
Location |
Dogtown |
Previous Job |
Lucretia My Reflection |
Next Job |
Get it Together |
Reward/s |
+1612 Street Cred |
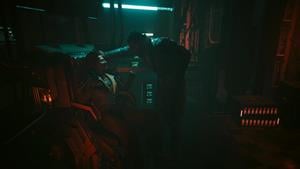
The Damned is a Main Job in Cyberpunk 2077. The Damned allows players to meet Solomon Reed's ex running mates and is exclusive to the Phantom Liberty DLC, thus not available in the standard version of the game. Completing Main Jobs (Main Quests) in Cyberpunk 2077 progresses the story forward, and also grants XP and various rewards.
Cyberpunk 2077: Phantom Liberty The Damned Objectives
- Go to the Moth Bar
- Sit by the bar
- Answer Reed's call
- Talk to Reed
- Talk to Alex
- Talk to Reed
- Talk to Alex and Reed
- Meet with Reed near Slider's hideout
- Talk to Johnny
- Talk to Reed
- Follow Reed
- Find a way into the ventilation shafts
- Find Slider
- Follow Reed
- Leave the Voodoo Boys hideout with Reed
- Follow Reed
- Talk to Reed
Cyberpunk 2077: Phantom Liberty The Damned Walkthrough
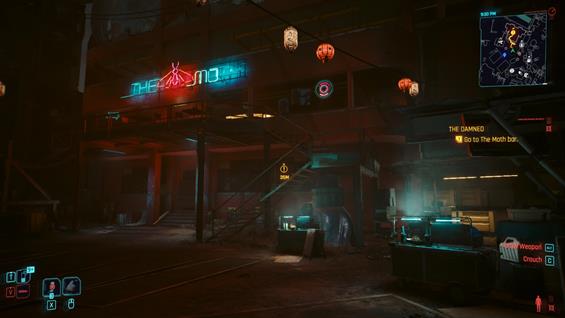
When Solomon Reed contacts you, he will point you towards the Moth Bar.
Head there, and sit by the bar once inside. Solomon will contact you again, and after he arrives, the bar closes out for the rest of the customers.
Daphne, the bartender, reveals herself as Alex the contact you were supposed to meet.
After a not-so-good start, Alex will head outside. Follow her and talk to her about the situation, and her previous life before being a bartender. Eventually, she will sign in, even though there will be some demands from her.
Head back inside and tell Solomon Reed the good news. Alex will get inside soon and talk about Songbird's status. They conclude that a netrunner is needed, and an ex-voodoo boy called Slider is the one selected. Alex will grant you the exact coordinates of his location.
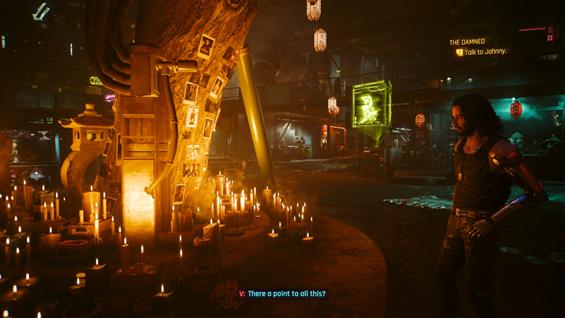
Exit the bar, and Johnny will have a conversation with you.
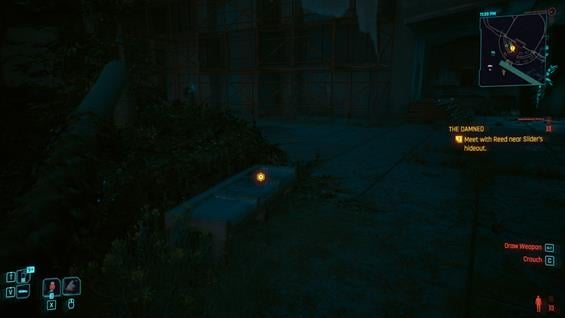
Head to the meeting place by following your marker. Sit on the bench while you wait for Solomon Reed.
Follow Solomon Reed inside the building and you will find guards there.
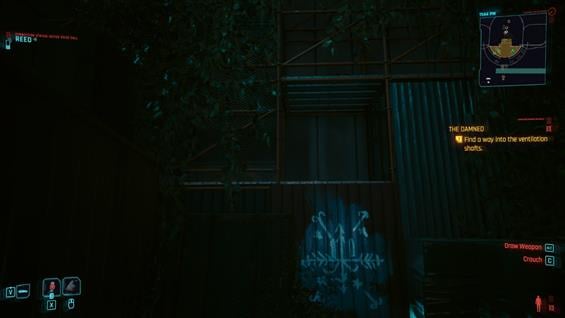
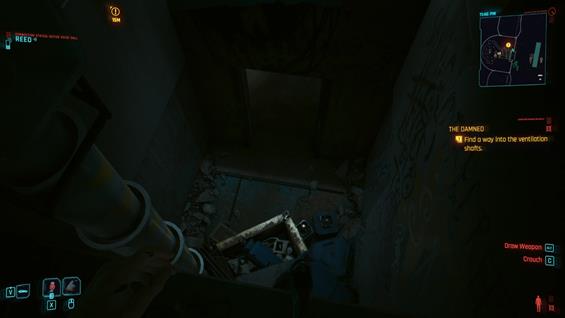
Head outside and climb on one of the sides of the building, this will lead you inside.
Continue pushing forward, until you reach a big room guarded by cameras and may voodoo boys.
You can use stealth to traverse the area, hiding and using Distract Enemies to lure enemies away.
You will reach a closed area, interact to open it. Move inside to find Slider.
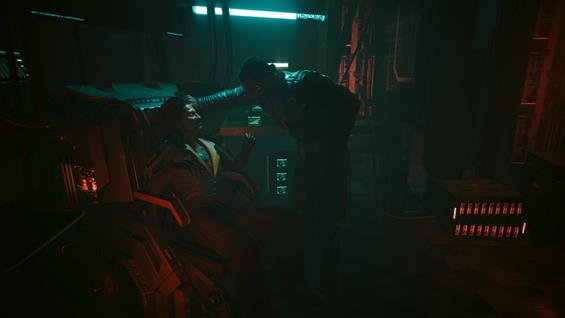
After a conversation, you will have to show him the relic in your head to progress. A long conversation ensues, and after that, you will have to leave the area with Solomon Reed. This time, you will have to fight your way out of the building.
Eliminate enemy resistance and head outside. Follow Solomon Reed and talk to him, to finish the mission.
How to unlock The Damned in Cyberpunk 2077: Phantom Liberty
Players can unlock The Damned by:
- Unlocked by Solomon Reed immediately after completing Lucretia My Reflection
The Damned Rewards in Cyberpunk 2077: Phantom Liberty
Players earn the following rewards by completing The Damned
- +1612 Street Cred
Cyberpunk 2077: Phantom Liberty The Damned Notes & Tips
- Notes & tips go here.
Get it Together |
|
|---|---|
 |
|
Job Type |
Main Job |
Location |
Dogtown |
Previous Job |
The Damned |
Next Job |
You Know My Name |
Reward/s |
+896 XP |
Get it Together is a Main Job in Cyberpunk 2077. Get it Together has V and Solomon Reed getting ready to enter the Black Sapphire and is exclusive to the Phantom Liberty DLC, thus not available in the standard version of the game. Completing Main Jobs (Main Quests) in Cyberpunk 2077 progresses the story forward, and also grants XP and various rewards.
Your missing uber-netrunner got snared by Dogtown's head honcho. What a lovely plot twist. Dunno how you wanna get into the Black Sapphire of if it's even possible, but that's not the thing I worry about. What does worry me is what you're gonna do once you get inside. Thoughts?
Cyberpunk 2077: Phantom Liberty Get it Together Objectives
- Call Mr. Hands
- Talk to Mr. Hands
- Complete at least three Gig for Mr. Hands.
- Go to the Heavy Hearts club
- Go to the elevator at the Heavy Hearts
- Enter code 2589 on the terminal
- Reach the private floor
- Talk to Mr. Hands
- Leave the club
- Call Reed and send him the data
- Meet with Reed at the Moth
- Follow Reed
- Ride the elevator down
- Talk to Alex and Reed
- Grab the diving suit
- Examine the contents of the box
- Talk to Reed
Cyberpunk 2077: Phantom Liberty Get it Together Walkthrough
Mr. Hands
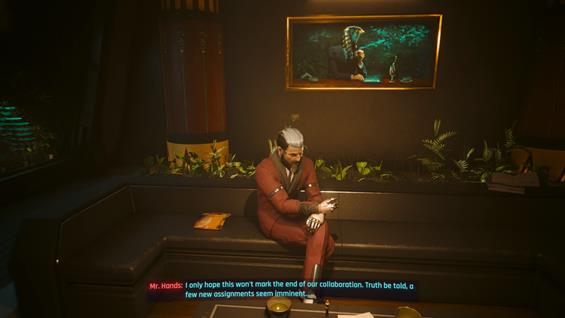
After The Damned, both you and Solomon Reed conclude that to reach Hansen at the Black Sapphire, you will have to gather all possible help. Call Mr. Hands to reach an agreement. You will have to complete 3 Gigs for him in Dogtown. It doesn't matter which ones.
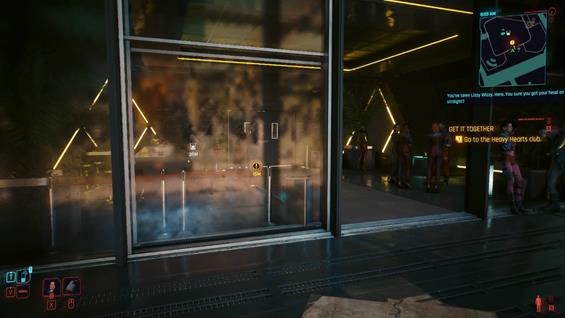
Once you manage to complete 3 gigs for him, he will send you a message prompting you to go to the Heavy Hearts club. It also contains the access code (2589). Head there.
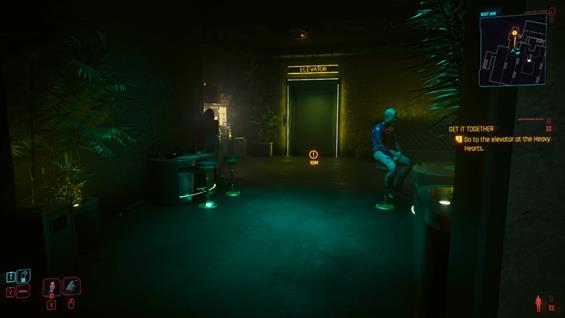
Get inside the building and head to the elevator, insert the code. Take the elevator to the private rooms and talk to Mr. Hands face to face. He will give you a shard containing information regarding the Black Sapphire.
Leave the club and call Solomon Reed. Send him the data about the Black Sapphire. He asks you to meet him at the Moth. As you arrive, the Relic will start malfunctioning and Solomon will help you up. He will reveal a few details about his past. Follow him and head, down the elevator.
He will tell you about his past, about Songbird and President Rosalind Myers. Alex will arrive, and all three of you will discuss the plan to enter the Black Sapphire.
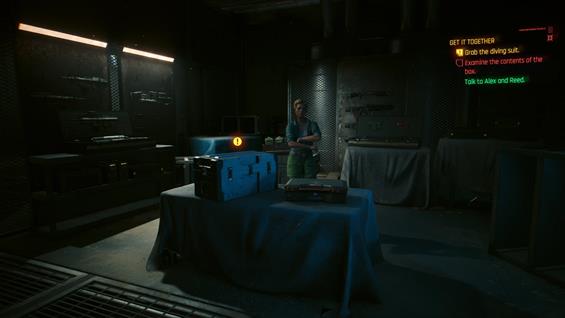
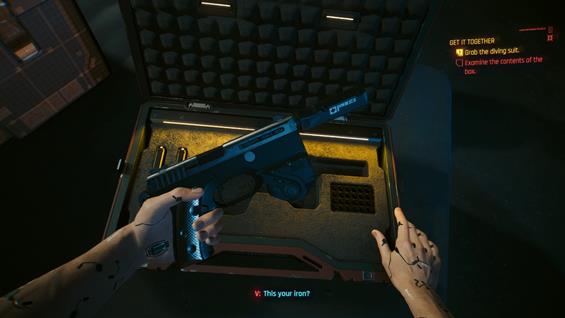
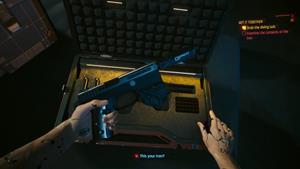
Inspect the box to receive the iconic Power Pistol, Her Majesty, and grab the Tactical Diving Suit on the other box. There is more loot to be found in the area, though nothing iconic as the weapon Alex has just given you.
After the conversation, Get it Together will be completed, and the next job in the main story, You Know My Name, will be automatically unlocked.
How to unlock Get it Together in Cyberpunk 2077: Phantom Liberty
Players can unlock Get it Together by:
- Solomon Reed gives this Job once you complete The Damned
Get it Together Rewards in Cyberpunk 2077: Phantom Liberty
Players earn the following rewards by completing Get it Together
- +896 Experience Points
- +100 Street Cred
Cyberpunk 2077: Phantom Liberty Get it Together Notes & Tips
- Notes & tips go here.
You Know My Name |
|
|---|---|
 |
|
Job Type |
Main Job |
Location |
Dogtown |
Previous Job |
Get it Together |
Next Job |
Birds with Broken Wings |
Reward/s |
+150 Stret Cred |
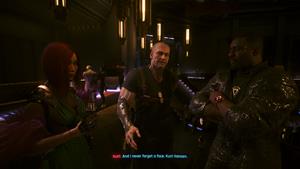
You Know My Name is a Main Job in Cyberpunk 2077. You Know My Name has both V and Solomon Reed working together to infiltrate the Black Sapphire and is exclusive to the Phantom Liberty DLC, thus not available in the standard version of the game. Completing Main Jobs (Main Quests) in Cyberpunk 2077 progresses the story forward, and also grants XP and various rewards.
Nothing's impossible, huh? Not only you managed to get Mr. Hands to help you, but even got old Solomon Reed to confide in you. You're on a hot streak, V - it seems that even breaking into the best-guarded fortress in Dogtown (maybe even all of Night City) is actually possible. And if you do manage to get Songbird out of there, you should consider buying a bunch of scratch tickets, 'cause Lady Luck is clearly on your side.
Cyberpunk 2077: Phantom Liberty You Know My Name Objectives
- Enter the flooded tunnels
- Put the diving suit on before diving
- Proceed down the tunnels
- Use the panel to open the path
- Defeat the warehouse guards
- Connect to the CCTV through the security computer
- Switch between cameras to track Reed.
- Open the entry gate
- Take the elevator to the maintenance area
- Ride the elevator
- Go to the meeting point
- Neutralize the sniper
- Jack in
- Track down Reed
- Use Kiroshi to find the meeting point
- Scan the floor for potential threats (0/3) (Optional)
- Talk to Reed
- Identify immediate threats to Reed
- Destroy the power source for gate security systems
- Find the progress route for Reed
- Take out the guard
- Handle the Sniper on the balcony
- Handle the guard blocking Reed's progress
- Use the CCTV system to locate the guard blocking Reed's progress (Optional)
- Deal with the incoming guards.
- Join Reed
- Take the elevator to the top floor
- Ride the elevator
- Follow Reed
- Grab your outfit
- Put on your eveningwear
- Go to the party
- Join Reed at the bar once you are ready
- Talk to Reed
- Enjoy the party until Songbird makes contact
- Read the message from Songbird
- Approach Songbird
- Talk to Songbird
- Join Reed at the bar
- Buy at least
 80,000 worth of casino chips for roulette
 - Play roulette with the netrunners
- Wait until the round is over to join the game
- Scan Aymeric
- Scan Aurore
- Get through the confrontation with Hansen
- Talk to Alex
- Leave the Black Sapphire through the lobby
- Talk to the soldier
- Leave the Black Sapphire area
- Lose your tail
- Talk to Reed
Cyberpunk 2077: Phantom Liberty You Know My Name Walkthrough
Head to the marked location, and force open the door. You will get in contact with Solomon Reed.
Continue forward until you are prompted to put on the diving suit. Do it and head underwater.
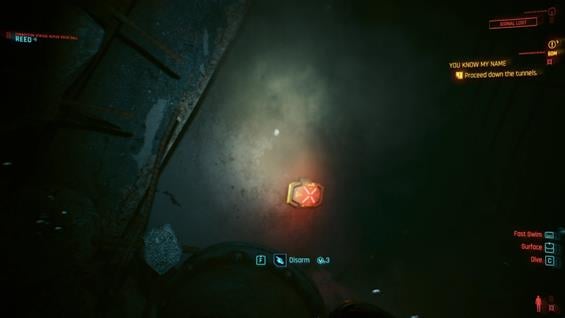
While submerged, be on the lookout for traps and security systems. Disarm them to avoid being damaged.
Continue through the pipe, and keep moving, there is another mine. Disarm it to advance. Open the door of the red car and continue forward.
Eventually, you will be able to stand. There is some loot to be found, but nothing important or vital. Head underwater again, and disarm your third mine.
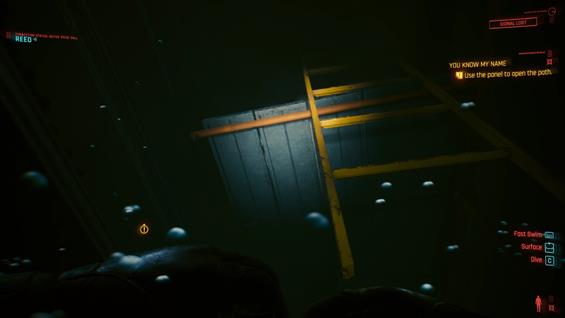
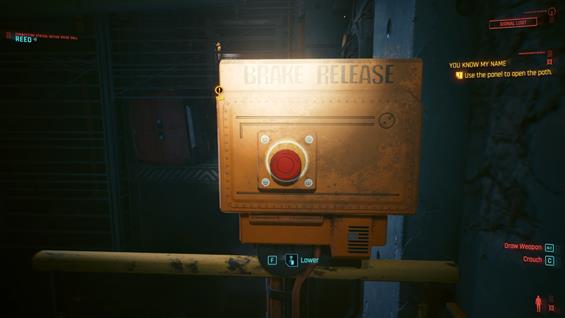
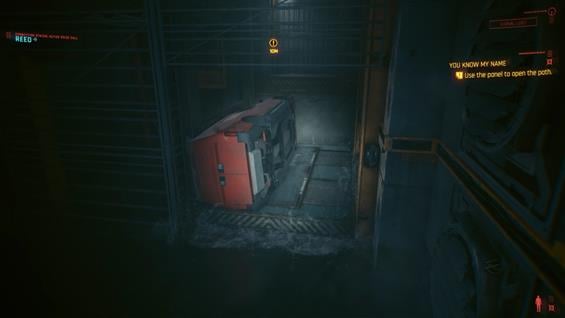
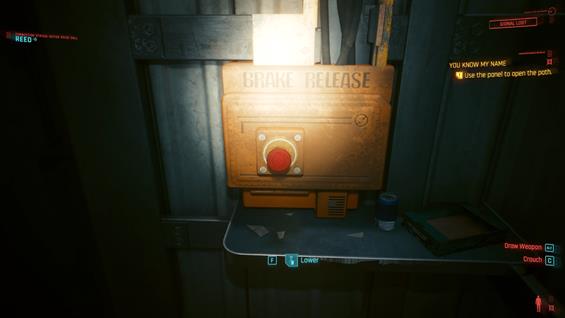
Continue forward and open the metal shut. You will reach a big room, you will have to use the panel to open the path. Head to the path below the panel platform, and emerge on the other side to use the ladder. This will allow you to reach the panel. Activate it to create a path.
Get on that platform and you will reach another panel that allows to activate a second panel, and create a new path. Traverse it.
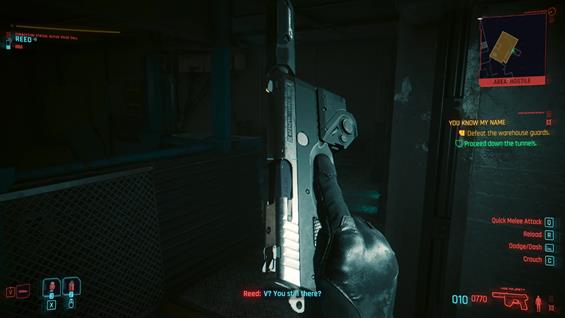
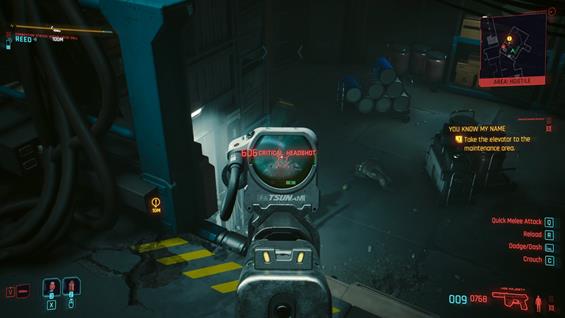
Continue forward and climb the yellow ladder up to reach the warehouse. There are two guards here. Her Majesty can one-shot them if you apply a well-aimed headshot on them.
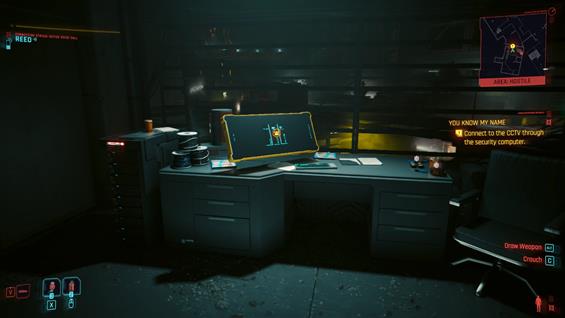
Jump forward to the platform after dispatching the enemies and jack into the system to connect to the CCTV system. Switch between cameras to track reed. You will find him in the 4th camera, moving stealthily.
He will ask you open the gate. Aim at the gate and press the interaction button to hack it. You will have to complete the hacking minigame. Reed will sneak past the guards, and head to the opened door.
Leave the CCTV system and take the elevator to the maintenance area. Three enemies will arrive from the elevator. Again, use Her Majesty to dispatch them easily by landing headshots.
Sniper Nest
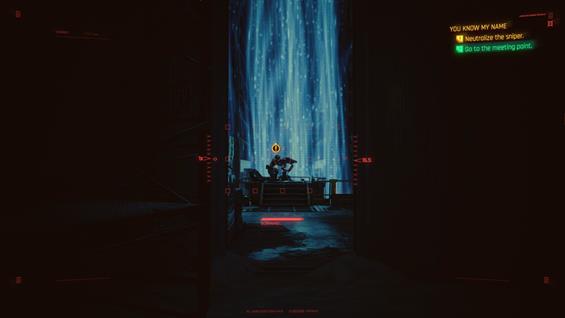
Take the elevator and head to the meeting point. There is a sniper in position, move stealthily and dispose of him using the prompt on screen.
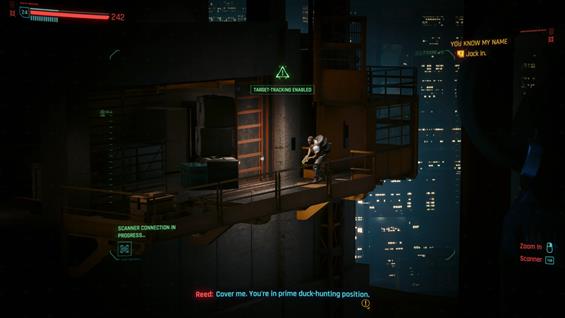
Get in the Sniper nest and you will spot Reed from the other side. Your objective now is to take down the Enemies or mines that block his path. To complete the optional objective, scan the mine, the soldiers, and the camera in the area.
Once the sniper calibration is over, you can prompt Reed to start moving. He will disarm the mine of you can activate friendly mode if you have 20 points in Technical Ability.
He will reach the next corner and stop to ask you if everything is clear for him to keep moving. Once the patrol has moved to the elevator, Reed will move to the blocked door.
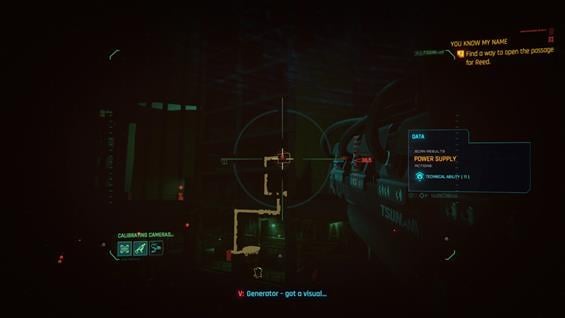
Follow the power cables of that door upside, to find a Power Supply. Shoot it to enable the way for Reed.
He will advance and ask you to take on the left guard, he will take care of the other one.
Reed will continue advancing forward. Immediately, a sizeable patrol will arrive from the elevator on the other side. Once they pass past Reed, he will move out.
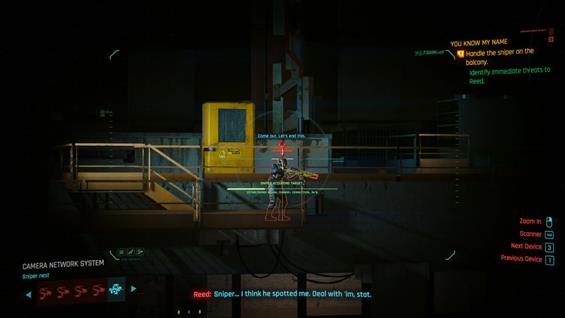
A Sniper will appear on the balcony. Found on the left side, you can find him by following his laser aim. Take him out, allowing Reed to keep moving forward.
Reed will spot another guard, but you won't be able to spot it from your position. Hack into the CCTV system using Camera Control to reveal it. You can return to the sniper nest and shoot it.
Reed will continue moving. This time, two guards will emerge from the other side. If you miss, an alarm will be raised and all guards will converge at Reed's position. Defeat them as quickly as possible. Three drones will also arrive at the scene.
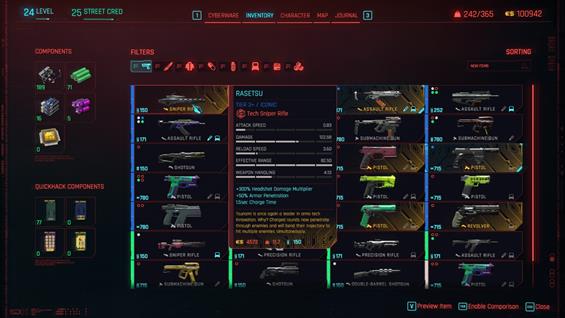
When they are all defeated, you will automatically dismount and take Rasetsu, the iconic Sniper Rifle you were using the whole time to protect Reed.
The Party
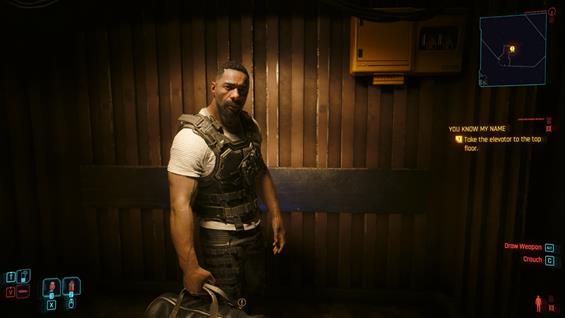
Rendezvous with Reed, and take the elevator to the top floor. After a conversation with the agent, follow him.
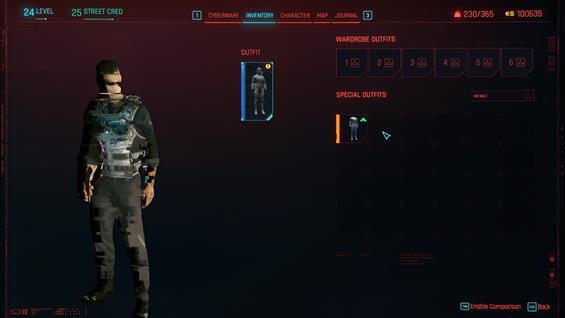
Grab the Stylish Suit from the bag to disguise yourself and head to the party.
When you are ready, join Reed at the bar. Talk to him to go through the plan again, and prepare to enjoy the party until Songbird makes contact. You are free to approach any of the guests.
Eventually, Songbird will contact you through a message. Read it and head to the marker to approach her.
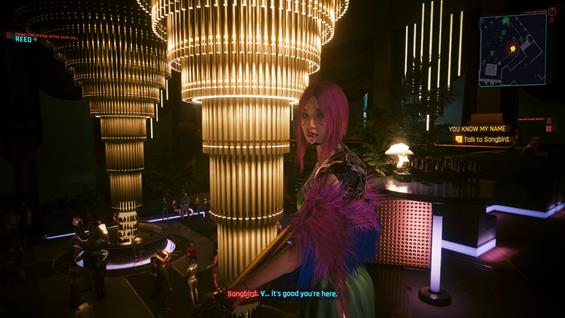
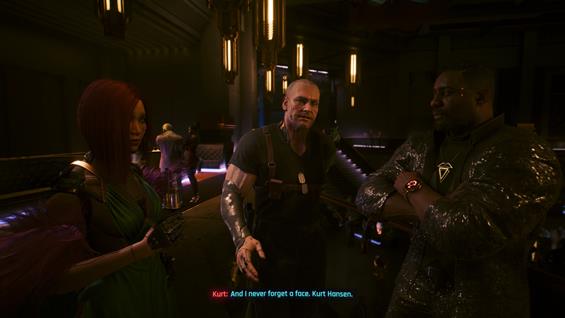
Talk to her, to trigger a large conversation, in which Kurt Hansen and Solomon Reed will also join.
After the conversation, meet Reed at the bar. Head to the marker and converse with Reed.
Then, head to the counter to buy ![]() 80,000 worth of casino chips for roulette. Play the roulette with the netrunners. Join the game and buy them drinks as Reed suggests.
80,000 worth of casino chips for roulette. Play the roulette with the netrunners. Join the game and buy them drinks as Reed suggests.
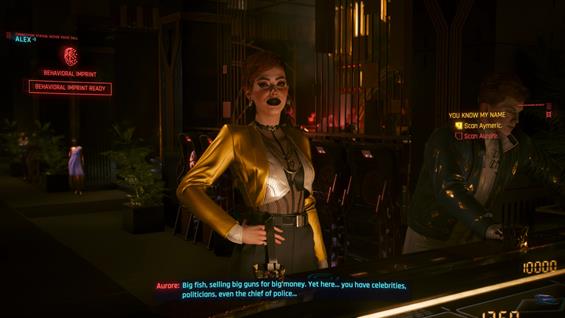
As the time goes by, Reed is still nowhere to be seen, so will have to scan the twins, Aymeric and Aurore, on your own. As the game goes on, you will have to get them talking to be able to scan them.
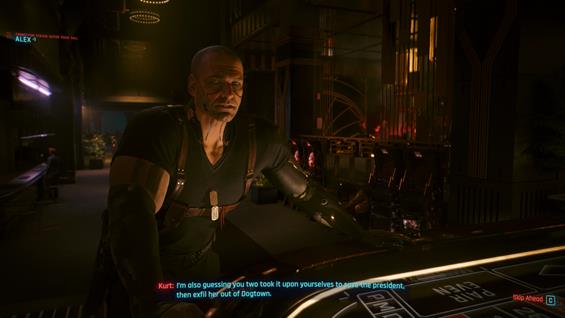
When you reach 100% with both of them, Kurt Hansen will arrive and approach you.
After this conversation, leave the place. Head to the elevator and get down. Alex will call you.
Once you reach the lobby, a bunch of guards will escort you out. Solomon Reed is there, not in good shape. A soldier will recognize you as the ones who entered through the tunnels, prepare for a long confrontation with many Barghest soldiers.
There are massive amounts of soldiers, so try to take as many as possible to create a path outside the Black Sapphire. Once you manage to leave and lose your tail, Reed will get in contact.
After the conversation, the Job ends and Birds with Broken Wings automatically starts.
How to unlock You Know My Name in Cyberpunk 2077: Phantom Liberty
Players can unlock You Know My Name by:
- Unlocked automatically after completing Get it Together
You Know My Name Rewards in Cyberpunk 2077: Phantom Liberty
Players earn the following rewards by completing You Know My Name
- +150 Street Cred
Cyberpunk 2077: Phantom Liberty You Know My Name Notes & Tips
- Notes & tips go here.
Birds with Broken Wings |
|
|---|---|
 |
|
Job Type |
Main Job |
Location |
Dogtown |
Previous Job |
You Know My Name |
Next Job |
I've Seen That Face Before |
Reward/s |
__rewards__ |
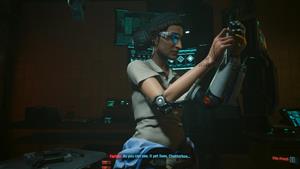
Birds with Broken Wings is a Main Job in Cyberpunk 2077. Birds with Broken Wings has V and the team trying to kidnap the french twins and is exclusive to the Phantom Liberty DLC, thus not available in the standard version of the game. Completing Main Jobs (Main Quests) in Cyberpunk 2077 progresses the story forward, and also grants XP and various rewards.
Always thought it was in showbiz you couldn't trust a soul. Turns out, in hindsight, met a few good eggs in my time. But, man... all these cloaks from Langley? Guaranteed dagger from the back... And probably stuck there by a friend. You're getting played here, no doubt about it, but not much choice with our survival on the table. Just do me a favor - ears perked, eyes peeled and mind always, always razor-****in'-sharp.
Cyberpunk 2077: Phantom Liberty Birds with Broken Wings Objectives
- Wait a day from a call from Reed
- Talk to Reed
- Go to Alex's safehouse
- Talk to Reed and Alex
- Follow Alex
- Leave the Safehouse
- Access the tracking station transceiver
- Neutralize all enemies near the transceiver
- Access the tracking station transceiver
- Talk to Songbird
- Meet Songbird between 11:00 PM and 1:00 AM
- Access the second tracking station transceiver
- Find a way to restart the transceiver
- Talk to the kid
- Pay for a tip on how to fix the transceiver (Optional)
- Follow the hints to find the control panel
- Use the control panel to restart power
- Wait for the power to restart
- Talk to Johnny (Optional)
- Reply to Alex's message (Optional)
- Talk to Songbird
- Follow Songbird
- Use the Intercom
- Talk to Reed
- Talk to Farida
- Exit the Clinic
Cyberpunk 2077: Phantom Liberty Birds with Broken Wings Walkthrough
Getting Ready
You have to wait a full day before Solomon Reed contacts you. Once he does contact you, he will ask you to meet both him and Alex at Alex's place.
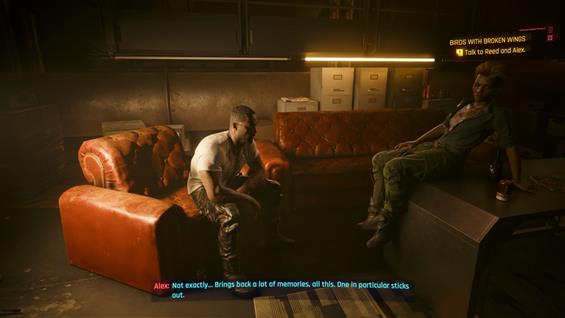
Head there and talk to both of them to learn the plan. After that, Alex will brief you with the next part of the job.
Leave the safehouse and move towards the marker. Take to the roofs and prepare to face some resistance.
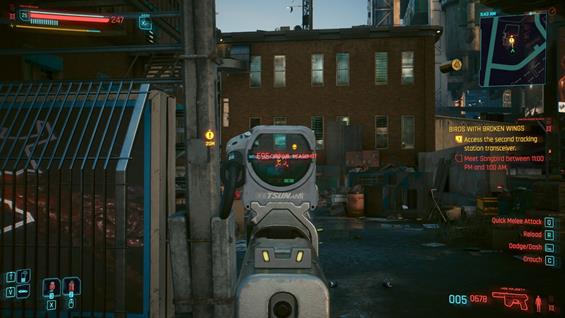
Defeat them all to access the transceiver. Songbird will communicate with you, talk to her. She will update your Militech firmware, granting you 3 Relic Points to spent in the Relic Perks tree, but also will ask to meet you.
Jack into the station on the roof, but you will learn that you will need to jack into more than one.
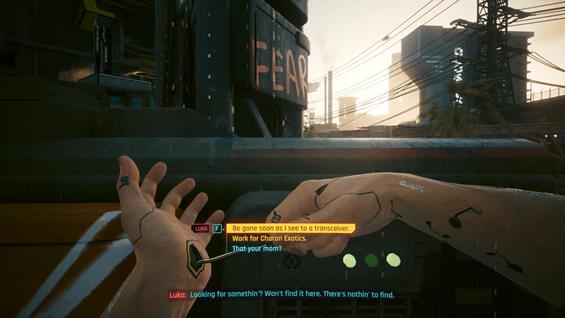
Head to the new objective on your marker and jack into the station, only to find the device is not responding. There are two kids near it, and will offer help for a thousand eddies. You can agree or decide to find the solution yourself. The kid won't actually point you where is it, but will tell you how close you are to it.
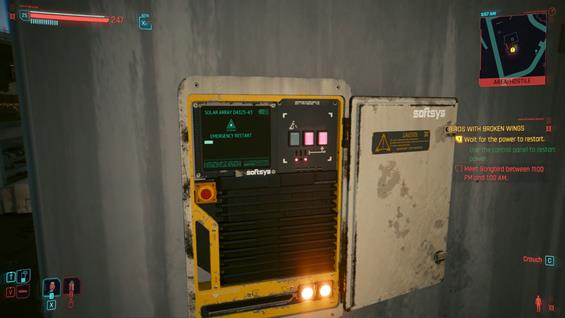
It can be found behind the solar panels. Restart it and wait for the power to restart.
As you approach the transceiver, the relic will start to malfunction. Talk to Johnny.
Meeting Songbird
Head to the location to meet Songbird, wait for her if you are in the wrong timeframe. Talk to her. She will open about about the situation with Myers, Reed, and Hansen.
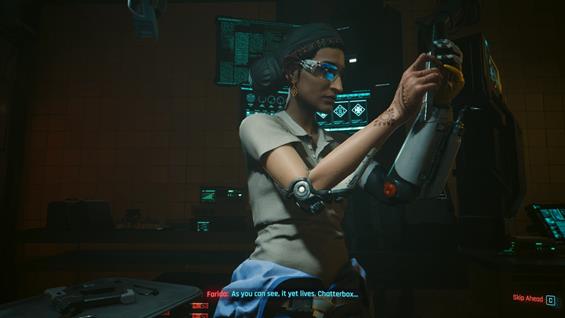
After the conversation is over, contact Reed. He will point you towards Farida's clinic to implant a new chrome. Head there and Reed will also appear. After the long conversation with him, submit to the procedure.
She will imprint the Behavorial Imprint-Synced Faceplate, an Iconic tier 5 cyberware. Leave the clinic to complete the job
How to unlock Birds with Broken Wings in Cyberpunk 2077: Phantom Liberty
Players can unlock Birds with Broken Wings by:
- Unlocked immediately after completing You Know My Name
Birds with Broken Wings Rewards in Cyberpunk 2077: Phantom Liberty
Players earn the following rewards by completing Birds with Broken Wings
- Reward 1
Cyberpunk 2077: Phantom Liberty Birds with Broken Wings Notes & Tips
- Notes & tips go here.
I've Seen That Face Before |
|
|---|---|
 |
|
Job Type |
Main Job |
Location |
Dogtown |
Previous Job |
Birds with Broken Wings |
Next Job |
Firestarter |
Reward/s |
N/A |
I've Seen That Face Before is a Main Job in Cyberpunk 2077. I've Seen That Face Before has V hijacking the French twins' car before disguising as them and is exclusive to the Phantom Liberty DLC, thus not available in the standard version of the game. Completing Main Jobs (Main Quests) in Cyberpunk 2077 progresses the story forward, and also grants XP and various rewards.
Cyberpunk 2077: Phantom Liberty I've Seen That Face Before Objectives
- Call Reed
- Talk to Reed
- Go to the Dogtown entrance
- Talk to Reed
- Go to the vantage point
- Wait for the netrunners' car
- Scan vehicles at the intersection
- Intercept the netrunners' car
- Go to the car
- Talk to Reed
- Open the trunk
- Talk to Reed
- Wait for the right moment to take control of the car
- Take control of the car
- Drive to the meeting point
- Talk to Reed
- Download Cynosure mainframe access codes from Aurore
- Put on the netrunner's outfit
Cyberpunk 2077: Phantom Liberty I've Seen That Face Before Walkthrough
Call Reed to receive the briefing for the job. Take the car and head to the marked spot.
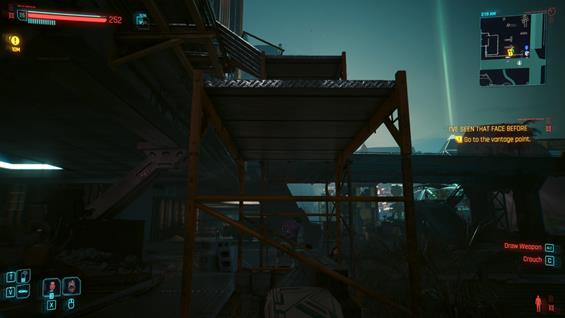
As you reach your objective, Reed will get in touch again, asking you to head to a marked vantage point. Head there.
Climb the platforms to reach the vantage point and wait for the netrunners.
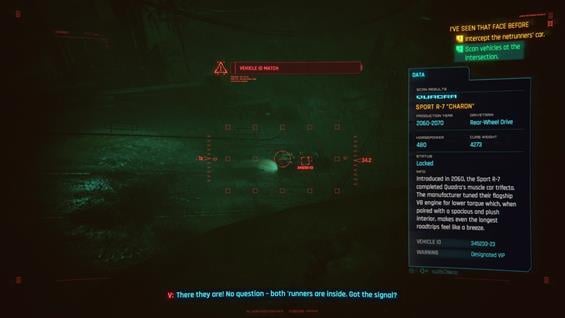
You will have to scan passing vehicles until you detect the car belonging to the netrunners. They are on a Sport R-7 "Charon", they will appear after two bikers. Scan the car.
As they pass up, the prompt to get up will appear on-screen. Head to the red marker's location. The netrunners will stop and leave the car just below the Eden Plaza.
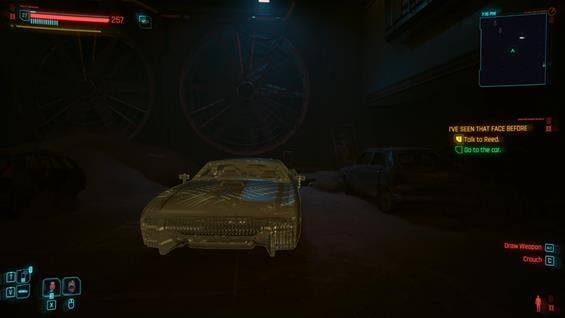
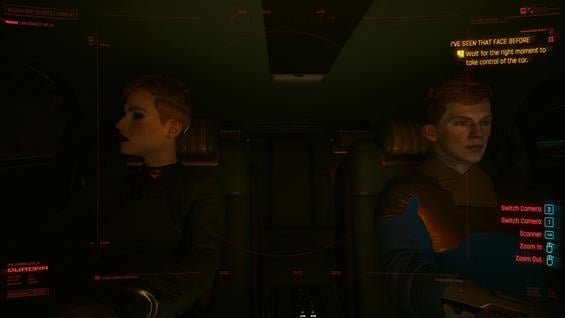
Approach the car, Reed will call, follow the plan. Open the trunk and hide inside. You will have access to the car's cameras.
The twins will eventually arrive at the car, and start driving. Wait until Reed signals you to take control of the car, and drive to the meeting point.
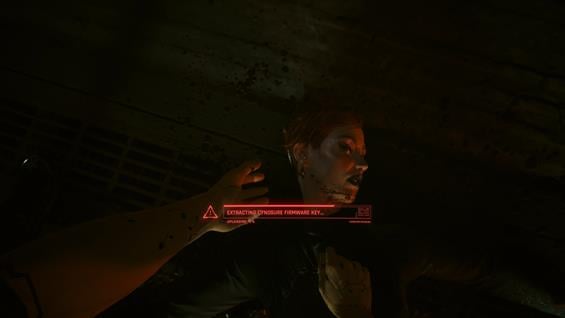
Get out of the trunk, to have the twins removed and killed by your allies. After some conversation with Solomon Reed, scan Aurore to download the Cynosure mainframe codes and put on the Netrunner Suit, which can be found just behind Reed.
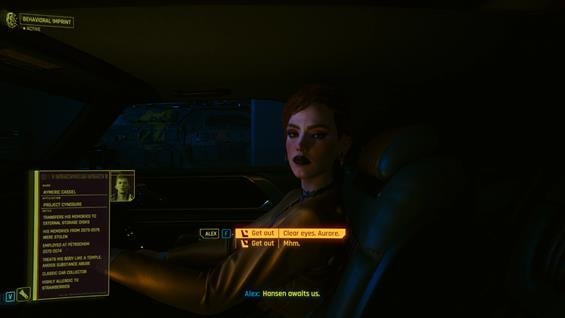
Get in the car, Alex will join you as Aurore and hand you a behavorial imprint.
After you insert the behavorial implant, you will "become" Aymeric. Reed will have a few words for Alex, and then leave. Ending this job and starting Firestarter
How to unlock I've Seen That Face Before in Cyberpunk 2077: Phantom Liberty
Players can unlock I've Seen That Face Before by:
- Automatically started after completing Birds with Broken Wings
I've Seen That Face Before Rewards in Cyberpunk 2077: Phantom Liberty
Players earn the following rewards by completing I've Seen That Face Before
- N/A
Cyberpunk 2077: Phantom Liberty I've Seen That Face Before Notes & Tips
- Notes & tips go here.
Firestarter |
|
|---|---|
 |
|
Job Type |
Main Job |
Location |
Dogtown |
Previous Job |
I've Seen That Face Before |
Next Job |
The Killing Moon |
Reward/s |
+220 Street Cred |
Firestarter is a Main Job in Cyberpunk 2077. Firestarter has V and Alex impersonating the French twins to take on Hansen and is exclusive to the Phantom Liberty DLC, thus not available in the standard version of the game. Completing Main Jobs (Main Quests) in Cyberpunk 2077 progresses the story forward, and also grants XP and various rewards.
Think it's clear by now this ain't one of those stories that comes out all giggles and hugs. It's like I said - finger's on the trigger, just gotta decide who you got down your sights. Assumin' Hansen doesn't pull one on you first, of course. Good luck. And choose wisely.
Cyberpunk 2077: Phantom Liberty Firestarter Objectives
- Drive to the Stadium
- Wait for vehicle ID verification
- Park the car
- Follow Alex
- Talk to Murphy
- Follow Murphy
- Get in the elevator
- Take the elevator with Murphy
- Follow Murphy
- Deposit your Weapons
- Talk to Murphy
- Follow Murphy
- Talk to Hansen
- Sit
- Follow Songbird
- Talk to Songbird
- Escape the secured area with Songbird
- Wait for Songbird to open the door
- Reach the market exit with Songbird
- Escape the stadium with Songbird
- Move the crates to open a path
- Open the sewer gate
- Talk to Songbird
- Lead Songbird out of the homeless camp
- Talk to Songbird
Cyberpunk 2077: Phantom Liberty Firestarter Walkthrough
Heading to the Stadium
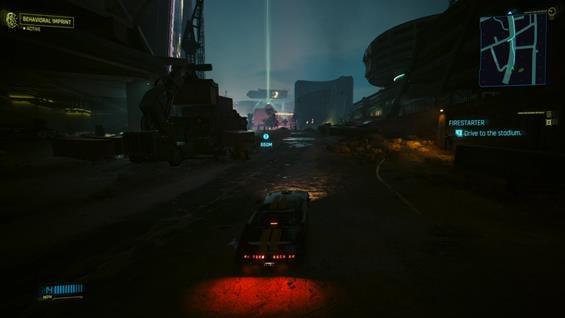
Drive the car to the stadium alongside Alex, as she talks about Hansen and the process of impersonating someone.
Once you reach the objective, your car will be scanned. Park the car and Alex will give you the final tips. You can check the information about Aymeric to be more prepared regarding him.
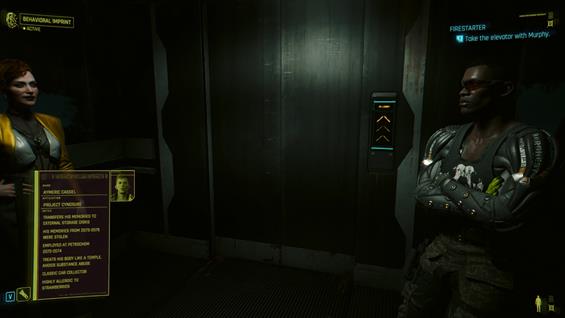
Follow Alex to the door, and Murphy, a Hansen's lackey, will appear to escort you inside. Get in the elevator with him.
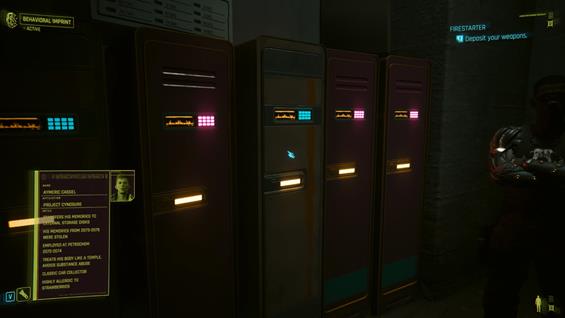
Follow him around and deposit your Weapons in the locker room as he demands. Follow him around, until you eventually reach Hansen.
Sit with Hansen and have a conversation with him. Try to stay in character as much as possible.
Songbird will arrive after a while. Alex will stay with Hansen and you will be able to leave the area with Songbird. Follow her and you will be able to talk with her about the plan.
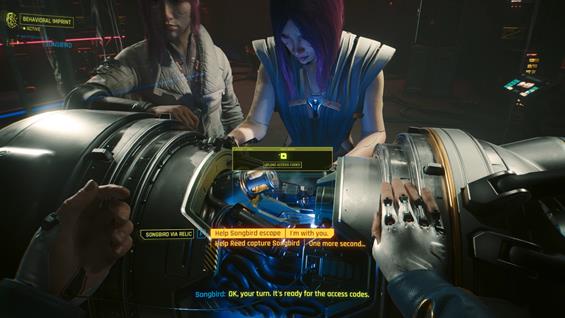
She will ask you to decide whether to free her or capture her for Solomon Reed
Once you are done deciding, signal Alex and she will attack Hansen and start the offensive.
Helping Songbird Escape
Things won't be as easy, Songbird will lose control for a second, but will lock out the area. Alex will notice this, and notify Reed about your final-second change of heart.
Follow Songbird to find a few Weapons, remember that you have previously left them inside a locker. Don't worry about them, you will find them soon.
Hansen's soldiers will be in the area, you will have to deal with them. You will eventually reach the locker with your Weapons. Wait for Songbird to open the door.
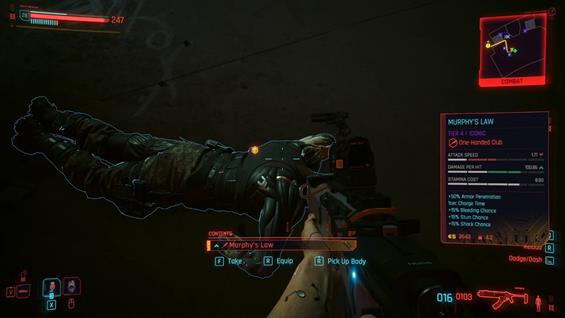
There will be more enemies on the other side. One of them will drop Murphy's Law, an Iconic one-handed Club. As you advance, Songbird can help you hack certain items or vehicles to help you.
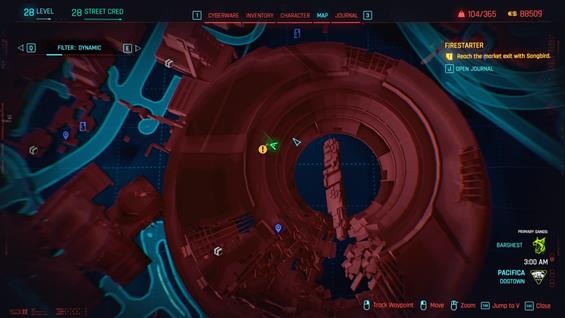
Reach the escape area, and take the door on the left side. Keep moving forward, there won't be any resistance in the way.
Songbird will be incredibly tired because of the amount of hacking she has been doing. Move the crates that block the path, and follow the maintenance shaft and take the stairs down.
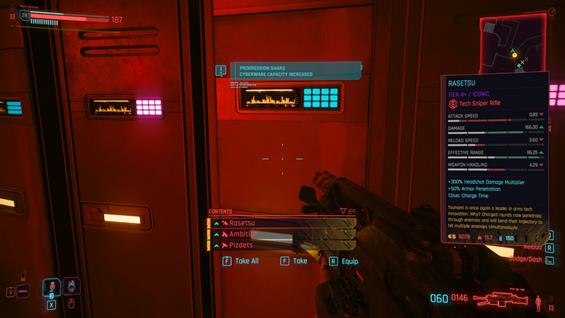
Underground you will find several Drones, take them down to obtain a Cyberware Capacity Shard from one of them.
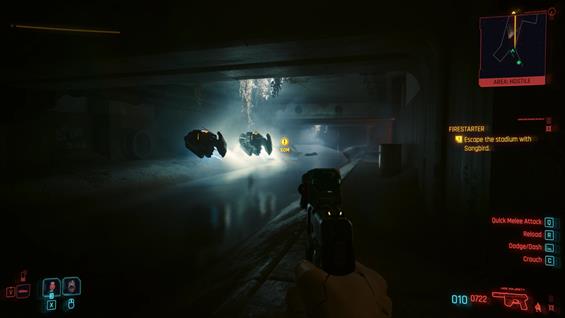
Continue moving forward. Songbird will tell you she arranged 2 cars, one for each of you. As you reach the end of the sewer pipe, she will start to feel lightheaded.
Open the sewer gate and jump. Songbird will hurt her ankle, help her up. Lead her out of the homeless camp. As she gets on the car, the job is completed and The Killing Moon begins.
How to unlock Firestarter in Cyberpunk 2077: Phantom Liberty
Players can unlock Firestarter by:
- Unlocked automatically after completing I've Seen That Face Before
Firestarter Rewards in Cyberpunk 2077: Phantom Liberty
Players earn the following rewards by completing Firestarter
- +220 Street Cred
Cyberpunk 2077: Phantom Liberty Firestarter Notes & Tips
- Notes & tips go here.
The Killing Moon |
|
|---|---|
Job Type |
Main Job |
Location |
Dogtown |
Previous Job |
Firestarter |
Next Job |
__next__ |
Reward/s |
__rewards__ |
The Killing Moon is a Main Job in Cyberpunk 2077. The Killing Moon comes after deciding to help Songbird during Firestarter and is exclusive to the Phantom Liberty DLC, thus not available in the standard version of the game. Completing Main Jobs (Main Quests) in Cyberpunk 2077 progresses the story forward, and also grants XP and various rewards.
They asked you to choose, so you chose. You weren't driven by a desire to save anyone's life - Reed and Songbird both offered you treatment. Maybe you realized that no matter what your choice, you'd be betraying someone, so the best thing you could do was not betray yourself in the process. That's why you stood by the chick who was fighting to survive, just like you. Did I get that right? Yeah, think I did. Would I have chosen differently? Luckily, I don't have to sweat over those kinds of questions. Good luck, V. You and Songbird both need it.
Cyberpunk 2077: Phantom Liberty The Killing Moon Objectives
Cyberpunk 2077: Phantom Liberty The Killing Moon Walkthrough
After completing Run this Town, Songbird will get in touch and ask if you are ready for this. She will prepare a vehicle and message the coordinates. Answer the message and get moving.
Songbird will ask you to escort her through a spaceport. During which you will have to face many Enemies
As you reach the end, Songbird unveils the truth: there is only one cure and she plans to use it on herself. With this revelation, once you are ready, you will have to decide what to do, which leads to two different endings:
King of Wands

As you take Songbird to the shuttle, Solomon Reed will cross paths with you. Start a conversation with him. Select the first option ("Lay Songbird down | Easy now"), then select "Can't let you take her" and "Draw Weapon | I'm sorry man". Kill Solomon Reed, you can loot his Iconic Tech Pistol called Pariah. Take Songbird to the shuttle, and prepare her to head to the moon.
Watch her launch into space, as Johnny Silverhand strikes conversation.
This will leave you again in the main game, with Johnny still in your head.
King of Swords

When you are about to take Songbird to the shuttle, simply decide to call Reed to negotiate. During the conversation with Solomon Reed, he will ask your price for Songbird. Respond with the following options: "Wanna live on", "Deal". Then pick her up, and as Solomon emerges from the shuttle, select "Lay Songbird down | Song's a traitor". Solomon will take her to a new shuttle that emerges and finally tell him "Take good care of her".
This will enable Through Pain to Heaven and Who Wants to Live Forever, leading to a new future for V.
How to unlock The Killing Moon in Cyberpunk 2077: Phantom Liberty
Players can unlock The Killing Moon by:
- Unlocked automatically after completing Firestarter and decided to Help Songbird, while at the matrix.
The Killing Moon Rewards in Cyberpunk 2077: Phantom Liberty
Players earn the following rewards by completing The Killing Moon
- reward
Cyberpunk 2077: Phantom Liberty The Killing Moon Notes & Tips
- Notes & tips go here.

